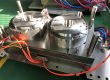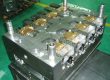
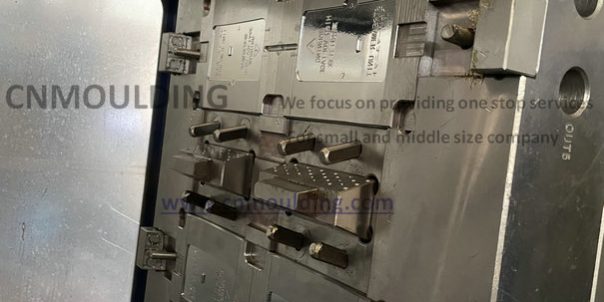
Power on the injection molding machine and switch the operation mode to manual. Start the hydraulic pump to activate the machine’s hydraulic system. Before bringing in the tooling, ensure that the lifting slings are ready and inspect the mold to confirm it matches the required product specifications and accessories
Phase 1: Pre-Installation Checklist
- Material Preparation: Verify whether the plastic raw material has been properly dried; dry thoroughly if necessary.
- Machine Compatibility: Confirm that the machine tonnage, platen dimensions, and ejector stroke are suitable for the mold, and check that any required special functions are available.
- Mold Readiness: Ensure the mold is fully prepped and maintenance is complete, then notify the operating team to proceed.
- Tooling & Equipment: Gather all necessary hand tools, water lines, fittings, and auxiliary equipment before moving the mold.
Phase 2: Mold Installation Steps
- Position the mold securely in front of the designated machine, attach the lifting eyebolts securely, and verify the knock-out (ejector) pin alignment.
- Lift the mold steadily and lower it slowly into the machine clamping area, aligning the locating ring of the mold with the machine’s center bore.
- Close the mold slowly until the platens meet securely.
- Secure the mold using clamping plates and bolts. Slowly slacken and detach the crane rigging, then remove the lifting eyebolts.
- Build up the mold clamping pressure, retighten all clamp bolts securely, and align the injection unit nozzle with the mold sprue bushing.
- Conduct a visual inspection for any abnormalities. Confirm all safety checks are passed before slowly opening the mold for the first cycle.
- Inspect the mold again for any issues once it is in the fully open position.
- Coordinate with the relevant technicians to connect specialized auxiliary equipment and begin machine debugging.
- Hook up auxiliary lines according to production requirements—such as cooling water and hot/cold runner controllers—and verify that everything operates normally.
- Hand over the machine for production startup.
Phase 3: Pre-Uninstallation Checklist
- Stop the injection process, purge any residual material from the barrel, and clean the screw thoroughly using PP (polypropylene) purge compound.
- Shut off all water supplies, including standard cooling lines and mold temperature controllers.
- Prepare removal tools and supplies: collection buckets, air blow guns, anti-rust spray, lifting eyebolts, and crane equipment.
- Notify the appropriate departments to disconnect auxiliary systems prior to pulling the mold.